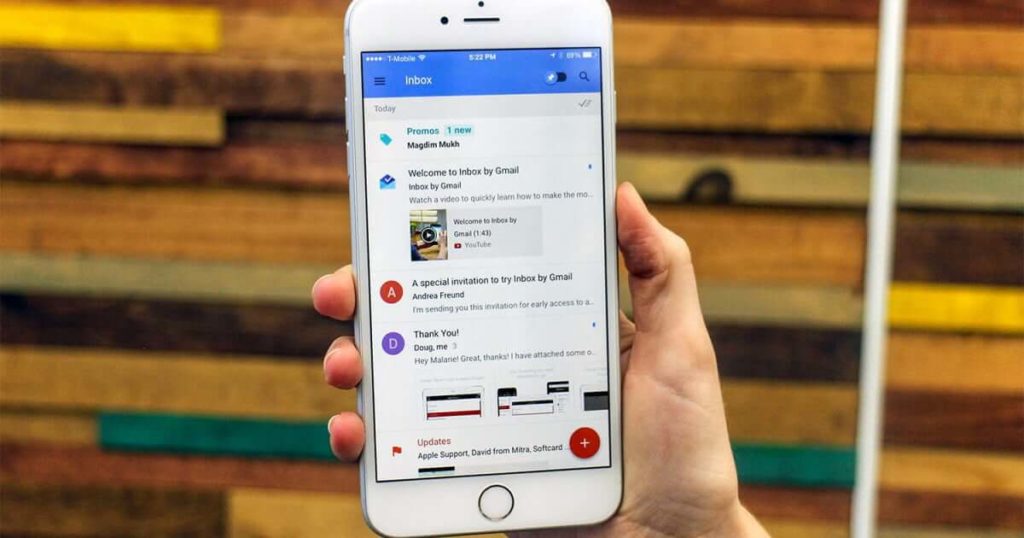
Inbox by Gmail was launched by Google a few years ago as a standalone application to feature a unique interface and many new features (sort of like a testbed for Google). As time progressed, most of the Inbox by Gmail features were gradually implemented on the main application, Gmail (Google Mail). With both apps offering more or less the same experience, Google decided to shut down the Inbox app.
Here’s a step-by-step guide to assist you with your transition from Inbox to Gmail.
Step 1: Export your inbox reminders individually
Unfortunately, there is no way around your reminders in inbox but to shift it manually and one-by-one.
Start off by opening the Snoozed tab in Inbox’s main menu and look for all your reminders (which are often overlooked notifications). Manually copy the pending reminder and paste it as a new event in your Google Calendar. You can also assign it a colour (ideally a colour that you will only use for reminders) and start it with something like “Remember to”. Once you have created the event in Google Calendar, delete it from Inbox so that you can keep easily keep track of what’s done.
Step 2: Save all of your saved articles
One really cool feature of Inbox was its ability to save articles and other web pages directly into your inbox which you can then snooze or search to be read later. Unfortunately, there is no equivalent system in Gmail and all your saved articles and web pages will be gone.
Here’s the solution: Open the “Saved” section in your Inbox and open every saved article that you still want to keep, and think carefully about how and where you want to keep it. You can always move all your articles and etc. into a standalone service like Pocket (which has both an Android app and a Chrome extension for simple on-the-fly saving).
Step 3: Optimise your Gmail inbox
If you have grown accustomed to using the Inbox app, you may feel that the Gmail (Google Mail) desktop interface is a little overwhelming with very little organisation. Your best bet is to try Gmail’s tabbed inbox option. To activate this option, you can hover over the word “Inbox” in Gmail’s left-side panel (on the desktop), click the downward-facing arrow and select “Default”.
The tabbed inbox supports up to five auto-categorised sections: Primary, Social, Promotions, Updates, and Forums. Take a look at what kinds of messages are being put into each section, and decide which sections you want to keep and which sections do you want to disable.
Step 4: Decide on notifications
With Inbox out of the picture, it is now time to configure your Gmail (Google Mail) to handle notifications in the way that you want. You can use the default notification scheme which only has a “high-priority only” notification or you can customize your own Gmail notifications based on what messages you know demand immediate attention.
Step 5: Optimise your Gmail Android app
Spend a few minutes to configure Gmail to make it a pleasant experience to use. For instance, you can enable “Inbox-like” shortcuts like the “swipe-left-to-snooze” gesture and more.
Step 6: Get Google Trips
Another key feature of Inbox is the ability to organise your travel information. Unfortunately, Gmail has no such feature at the moment, hence you will need to use the standalone app “Google Trips” to fulfil your travel needs (getting travel info, automatically compiled from your emails and organise them into trip-based bundles. It’s only available as a mobile app — but, if you have a Chromebook that runs Android apps, that isn’t a limitation that’ll affect you.
Look forward to bigger and better things from Google!
P.S: If you are looking to get an email address with your company name as the domain, check out the different G Suite packages available for your business.


