If you are like me, who regularly uses Google Docs to write or create content for your website or organisation, this is the article for you. You are probably no stranger to how useful and convenient Google Docs is, taking into account the free access given by Google.
Today, we are here to explore the hidden shortcuts, apps and built-in features that most of you might not already know. Feel free to apply the hacks or try out the tricks that we highlight in this post – you might find yourself upgraded into a Google Docs wizard real quick!
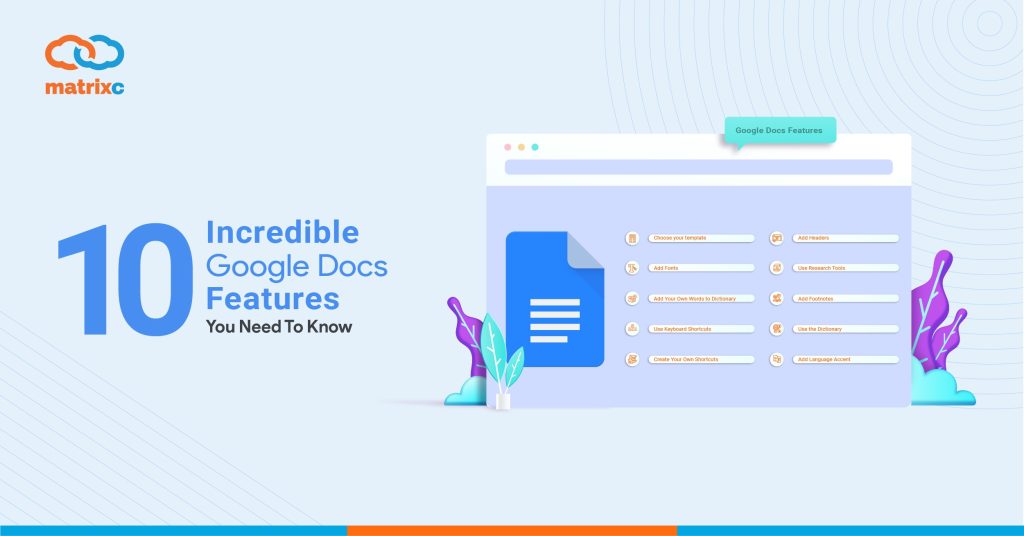
Google Docs: As Writing Tool
Most people use Google Docs as a pure writing tool. To improve your piece of writing, do check out the features below that will help you write faster, collaborate better and get more work done faster.
- Choose your template
Blank documents are for amateurs, pros make use of the massive template gallery! Google Docs provides a variety of templates for users to start off with. You can find beautifully crafted resumes, business letters, brochures available at your fingertips. And most importantly, they are all free to use! You can even find templates from different categories so you don’t have to worry about repetition or having limited choices.
How: You can access the template library by going to File > New > From Template on the drop-down menu.

From there, you can select your favourite template from the categories as shown below:

Now, go on and click on the template that you like and start writing your masterpiece!
- Add Fonts
If you’re an avid Google Docs user, you probably already have in your mind the list of fonts that are available in the application. You can access to the list of fonts by clicking on the current fond that you’re using at the top of your toolbar (which, for most of us, will be the Arial default font).
If you want to add more fancy fonts to choose from, you can click on the same box and choose the “More Fonts” options on top of the toolbar.

Clicking on this will open a window of different kinds of fonts for you to choose from. All you have to do is select the font that you like and add them to your list, and then press “OK” to save it in your font gallery. Now, you’ll be able to choose from the fonts from the standard font drop-down menu!
- Add Your Own Words to Dictionary
Do you ever get tired of seeing the squiggly red line underneath the words that keep appearing even though you know the words are spelt correctly? It can get pretty frustrating having to correct the same words again and again. It’s not always your fault, or even the Google Doc’s because some specific terms used by certain industries are not widely known and haven;t made it to the Google Docs dictionary yet.
However, you can always add these words to the dictionary manually, so you don’t have to see the dreaded red lines again.
It’s simple to add your own words to the dictionary. All you have to do is click on Tools > Spelling and Grammar > Personally Dictionary.

- Use Keyboard Shortcuts
What separates an amateur user and a Google Docs wizard is the familiarity of keyboard shortcuts within the app. Using keyboard shortcuts allows you to expedite your workflow and increase productivity.
In Google Docs itself, it has a great deal of keyboard shortcuts that help you to achieve efficiency in your fingertips. You probably know the infamous copy & paste shortcut (command + C & command + V) but there are actually a lot more shortcuts that you will find useful and applicable only in Google Docs. Some of the shortcuts that we recommend you to try is as follows: –
- Shift + T : Create a new document
- Ctrl + Alt + M : Insert comment
- Ctrl + Shift + Y : Open dictionary
- Ctrl + Shift + > : Increase font size
If you’re interested to learn more about the shortcuts, do check out the full list of the available shortcuts here: Keyboard shortcuts for Google Docs
- Create Your Own Shortcuts
If you find it rather inconvenient to use the above shortcuts, you can also choose to create your own shortcuts! This feature provides you with a truly customized Google Docs experience, which allows you to work better and accomplish more at a faster pace.
If you want to create shortcuts that are not currently available, you can proceed to generate it by going to Tools > Preferences > Automatic Substitution. It gives you an idea of what kind of shortcuts are available or to create one from scratch, at your own convenience!
It looks something like this:


Now, you can go on to create your own unique shortcuts for texts, symbols, numbers and more. Have fun experimenting with fresh ways you can improve your writing workflow!
- Add Headers
When you work on your masterpiece, you probably want to give your writing a header – especially if you’re writing for the web. This is because content in the web will be formatted in a specific way if you include headings, and it helps boost up your SEO by having keywords-complied headings!
For this purpose, Google Docs got you covered by including a variety of types of headings for you to choose from. To select a different heading for your article that currently says “Normal Text,” then from the drop-down menu, select the heading format that you want to switch to.

- Use Research Tools
When you are writing for content, do you know that you can conduct online research at the same time? You don’t even have to fire up any browsers, you can do it right within Google Docs. This saves up your time significantly and improves your workflow.
To access this tool, click on Tools > Explore. This will open up a window on the right side of your document. You can then use the search bar to do your research, either to do usual searches on the web, browse for images or look for existing documents that you have on your Google Drive.

- Add Footnotes
Footnotes are important as references for your well-researched content. Footnotes appear at the bottom of the page with a corresponding number (you can see this on websites like Wikipedia or other informative pages).
Here is how you can cite your sources with the footnotes feature:
- Click on the sentence where you would like footnotes to appear.
- Then select “Insert” from the page menu
- Lastly, select “Footnote” from the dropdown menu
- Type in the reference you uses in the footnote and save it
- Voila! Now it appears on the bottom of the page with the corresponding number
.

- Use the Dictionary
You remember the hack we mentioned earlier about doing your research within the same window in Google Docs? You can do the same to use the dictionary as well. This comes in handy when you are writing, where you can find a synonym of certain words to spice up your writing.
To make use of the dictionary, all you have to do is highlight the word that you want to browse and click “Define” from the drop down menu. It looks something like this:

On the right side, the dictionary will show up and show you the definition of the specific word. At the bottom of the definition, you can find the application of the word and more synonyms to that word (if any).

- Add Language Accent
If you are required to write your copy into different languages, you might need to add different accents to your words, and Google Docs can get it done for you. Instead of raking through the web for the correct character, you can fire up the accent tool and choose the proper accent required for the wording.
To access this tool, however, you will need to install a plug-in called “Easy Accents”. This add-on will furnish you with accents over 20 different languages. To do this, you have to install by clicking on the “Add-ons” from the top menu and search for the application named “Easy Accents.”

Once you have installed the add-on, you will be able to access the tool by going to Add-ons> Easy Accents. Then select your language of choice and you’ll have a list of available accents you can insert into your article!
Mastering these 10 Google Docs features, we are sure that it will ease your workflow with Google Docs. For more hacks like this, stay tuned to our page for more related articles!
Meanwhile, do check our other article that talks about 5 Brand New Features In Google Workspace You’ll Love